• France
status page
Demo shops
assistance
FAQContact support
Search
Categories
Tags
docs.
France
Spain
Europe (English)
India
Homepage
Use cases
Create a payment
Create an installment payment
Create a multi-card (split) payment
Create a payment by Alias (Token)
Create a payment link
Create a recurring payment
Manage subscriptions
Manage your transactions (refund, cancel...)
Analyze your reports
API docs
Embedded Form
REST API
Hosted payment
Mobile payment
File exchange
SDD mandates by REST API
Snippets
Payment methods
Plugins
Marketplace
Guides
Merchant Back Office
Back Office Expert
Functional guides

Creating a merchant ID in Apple Pay Developer

CAUTION:

First, you must Create your Apple ID in Apple Pay Developer to be able to log in and create a merchant ID.

If you already have an account, you can use it.

  1. Connect to Apple Pay Developer.
  2. Go to the section Certificates, Identifiers & Profiles.
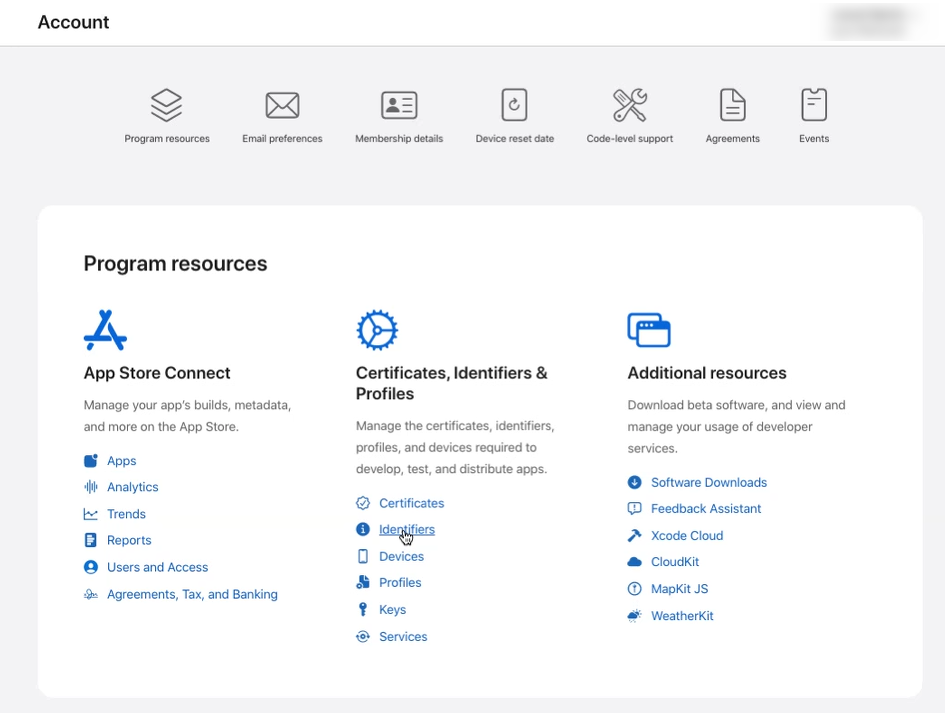
  3. Click on the Identifiers tab.
    The identifier management page opens.
  4. Click on Merchant IDs in the App IDs list.
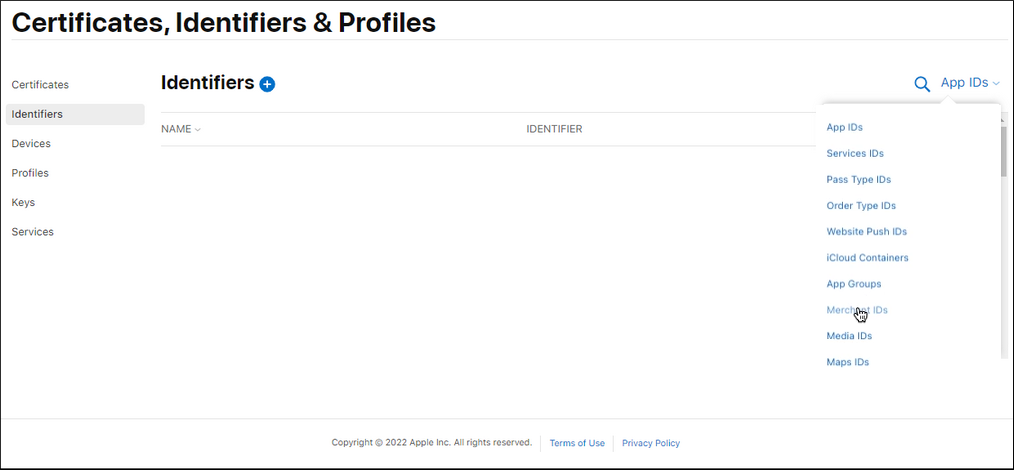
  5. Then click on the + icon to the right of Identifiers

    The merchant identifier registration page opens.

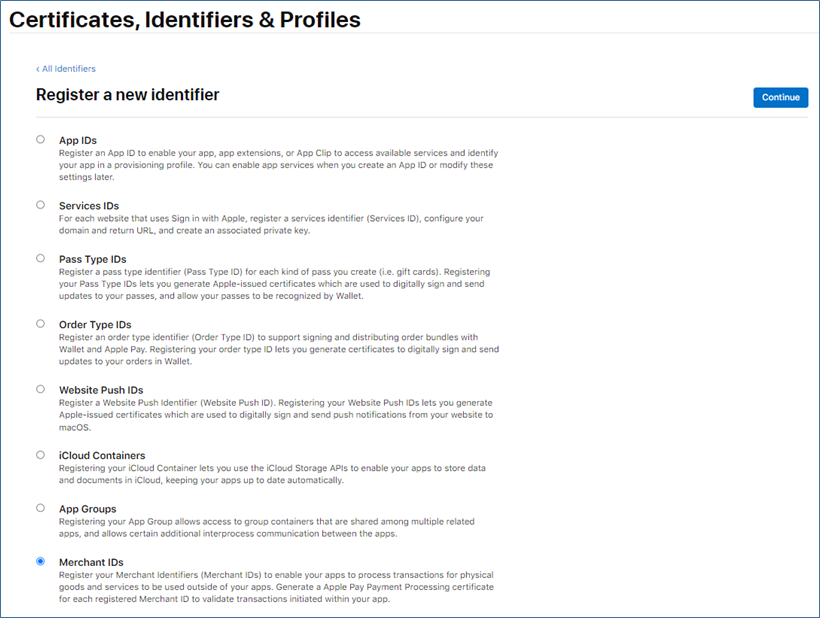
  6. Select Merchant IDs and click Continue.

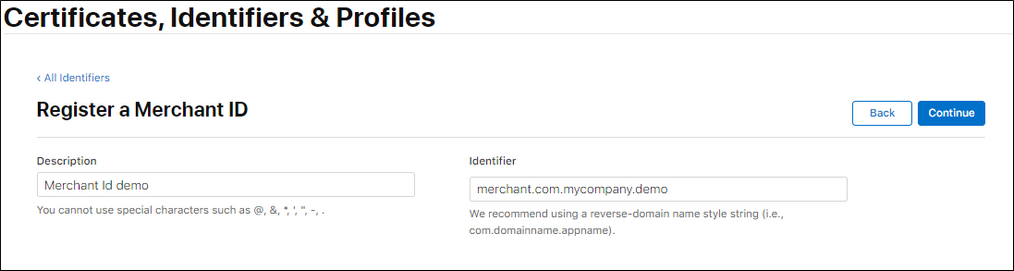
    The merchant identifier entry page opens.

     We recommend that you create two separate merchant IDs, one for your test environment and one for production.
  7. Enter your merchant ID in the login field.

    You must choose your own ID according to Apple’s recommendations.

    Example: merchant.com.mycompany.demo if it is your test account.

  8. Fill in the Description field if you wish.

    Example: merchant id demo if it is your test account.

  9. Click on Continue to finish.

    Your identifier is created. All you have to do is contact sales administration to communicate your merchant ID.

Jobs
Legal
GDPR
25.19-1.11